Configure SNMP Manager Settings
Administrative users can configure the Simple Network Management Protocol (SNMP) Manager settings. The SNMP Manager allows SNMP TRAP/INFORM messages to be sent from Lighthouse to a configured server any time a node connection status is changed.
To enable the SNMP Manager:
-
Select SETTINGS > SERVICES > SNMP Manager.
-
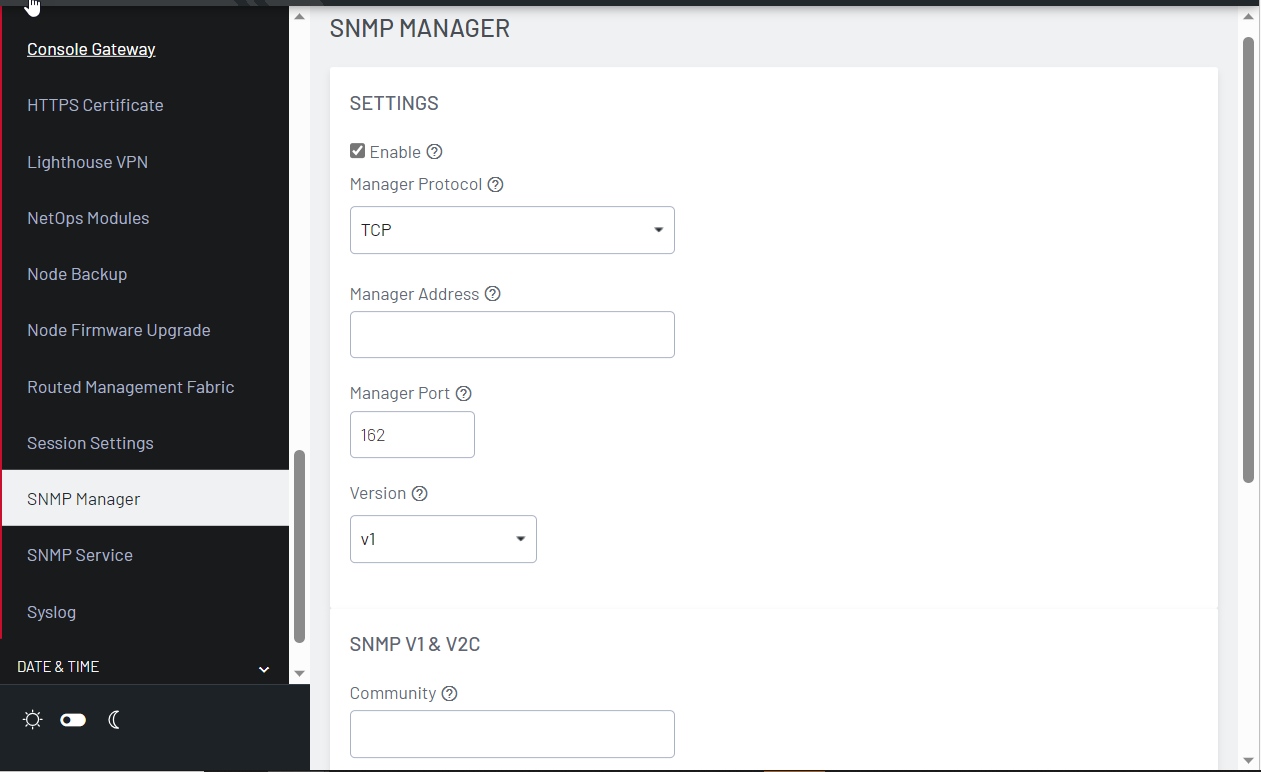
Under the Settings section, select the Enable checkbox.
-
In the Manager Protocol, select UDP, or UDP over IPv6, TCP, or TCP over IPv6.
-
Enter the Manager Address to receive SNMP messages.
-
Enter the Manager Port.
-
From the SNMP protocol Version select v1 or v2c or v3.
Depending on the selected SNMP Version, complete the following steps.
For v1, enter the SNMP Community to use for messages.
For v2c:
1. Select TRAP or INFORM as the SNMP Message Type.
2. Enter the SNMP Community to use for messages.
For v3:
1. Choose TRAP or INFORM as the SNMP Message Type.
2. Specify an optional Engine ID for sending an SNMP TRAP message. If left blank, the auto-generated Engine ID from the SNMP Service will be used. An Engine ID is not needed for an SNMP INFORM message.
3. Enter the SNMP v3 Engine ID and desired Configure SNMP Manager Settings.
4. Enter the Username to send the messages as, select the Authentication Protocol, either MD5 or SHA, and enter the SNMP user’s Authentication Password.
5. Choose a Privacy Protocol, either DES or AES, and enter a Privacy Password.
For all three SNMP versions, trigger TRAP/INFORM notifications by checking either or both of the Node Connection Status and the Node Cellular Heath Status checkboxes. Click Apply.
When a node connection status changes, a nodeStatusNotif notification is sent, populated with data about the node's connection status, address and name.
For information on Structure of notifications for Opengear nodes, refer to OG-LIGHTHOUSE-MIB.mib.